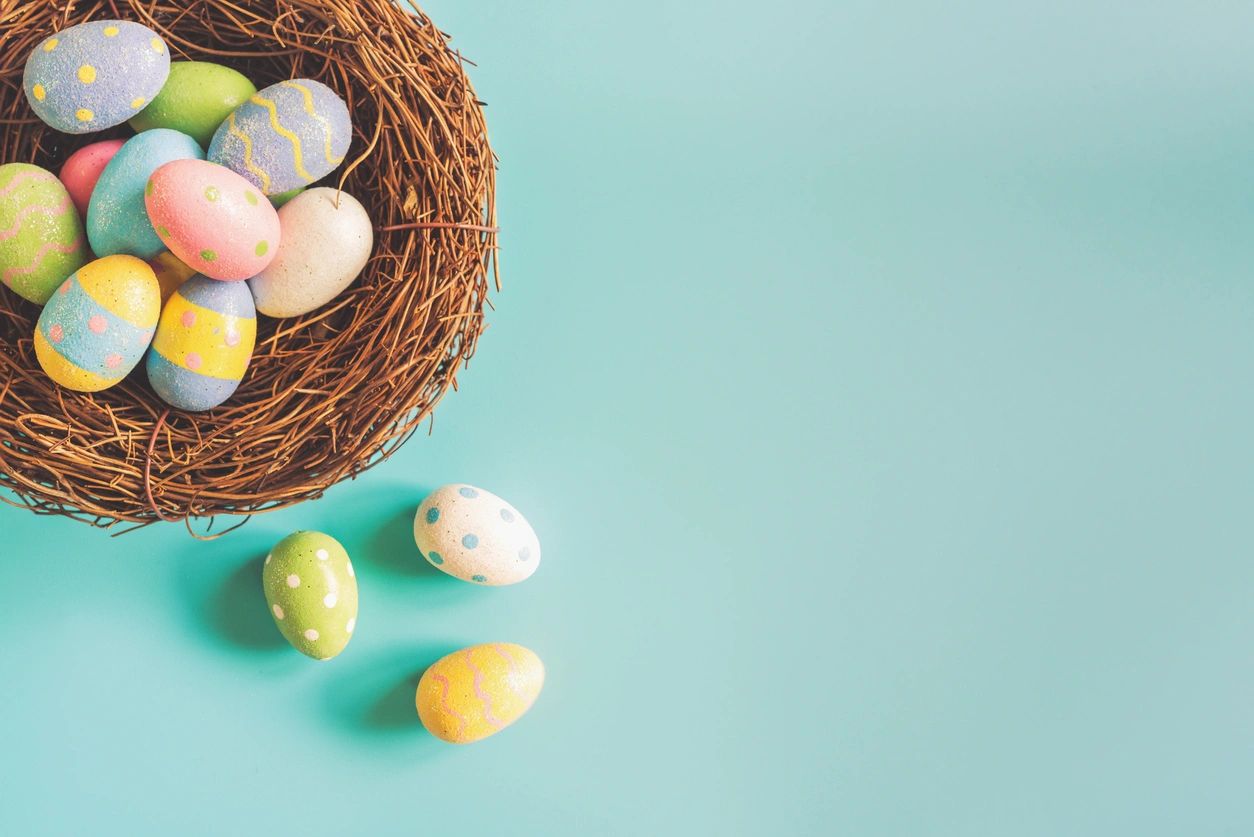
Papier Mache can be easily shaped when still wet, then dried, resulting in hard, plater-like creations that can be painted, or otherwise decorated. Because of the soggy nature of the raw material, some sort of form is usually required to hold the piece’s shape while it dries. Balloons are perfectly suited for this application, and as standard oval balloons are perfect for egg-shaped creations, creating whimsical Papier Mache Easter eggs can easily be undertaken without the need for any special supplies. Balloons are also easy to remove once the project has dried, ensuring that the finished product has a flawless finish.
What You Will Need:
- Oval shaped balloons
- Newspaper
- Scissors
- Homemade glue (See recipe below)
- Acrylic paint
- Tissue paper, glitter, pressed dried flowers, washi tape, and/or other decorations of your choosing
Make it Happen:
1. Rough cut newspaper into squares. Around 2″ x 2″ work well, but adjust size as you see fit. Perfection is not needed here.
2. Prepare your glue:
Ingredients:
- 1 cup of white flour
- 1 ½ cup of room temperature water
- ½ tablespoon salt
Mix the flour, water, and salt in a small saucepan. Whisk until lump-free. Bring mixture to just boiling over medium heat, stirring constantly. Be sure to watch carefully as it begins to thicken, and keep stirring to make sure that the glue doesn’t burn. As soon as mixture starts to bubble, immediately remove the pan from the heat and allow the paste to cool, stirring frequently to speed the cooling process and ensure smoothness of glue.
CAUTION: Glue will be extremely hot. Allow to cool completely before proceeding to the next step.
3. Dip a piece of paper into the glue, whipping along edge of bowl to remove excess. There should be enough glue on the newspaper for the entire paper to be completely saturated, but not so much that its dripping off all over the place.
4. Place wet paper onto the balloon and smooth out. Repeat until the balloon is completely covered with 1-2 layers of paper, leaving just a small quarter-sized hole exposing the stem of the balloon. Do not apply more than a couple of layers of paper in one session; the paper needs to dry completely and relatively quickly to prevent mold and to ensure a hard finish.
5. Leave in a well-ventilated place to dry overnight. Hanging the balloon from a piece of yarn tied to the stem is recommended, but not required. Dispose of unused glue.
6. Repeat steps numbered 2-5 several times, making sure to allow glue to dry complexly between layers. Make a new batch of glue for each new layer of paper applied (old glue will lead to mold). Finished product should have 6-10 layers and be very hard to the touch, with no give when lightly squeezed.
7. Once the final layer has dried completely, pop the balloon and remove it, leaving just the eggshell. If you want, you can add a couple of layers of additional material to cover the hole left by the balloon stem.
8. Apply 1-2 layers of acrylic paint, allowing it to dry complexly between coats.
9. Decorate as desired. Here are some ideas:
- Use washi tape to create patterns.
- Cut pastel tissue paper into shapes (circles or stars, or even bunnies and chicks) and apply using Papier Mache glue.
- Press delicate spring flowers between layers of wax paper inside a stack of heavy books for 1-2 weeks. Apply to eggs using Papier Mache glue.
- Apply glitter using painted-on Papier Mache glue as your adhesive.
10. Allow to dry thoroughly. Spray with a couple of coats of clear varnish or shellac to seal in your work. The finished product should last to be displayed for many Easters to come.

Comments
One response to “Create a Papier Mache Easter Egg”
[…] 9. Make a papier mache Easter egg. Find directions here. […]